"A what?"
"A sewing epiphany. It's like when you have been adjusting the patterns the wrong way the whole time, and suddenly you realise that there was a better way around it? And then the dress fits perfectly with no saggy bits of cloth nor awkwardly tight armholes? Then the planets align and the angels sing?"
"Oh, a pattern-fitting epiphany, you mean?"
"Yeah, that's what I meant."
- semi-real conversation I had with ... myself.
 |
| Toilet selfies were all the rage ... in 2014 |
It is a little embarrassing, and a tad pompous but this dress was meant to be a fitting muslin. So you're thinking ... why would anyone use a $20/m fabric for a toile? Siao ah? (= the Singlish equivalent of "has she gone completely bonkers"?)
Yes, I probably was. But this was done when I was in another state of mind, so let's not dwell too much on it.
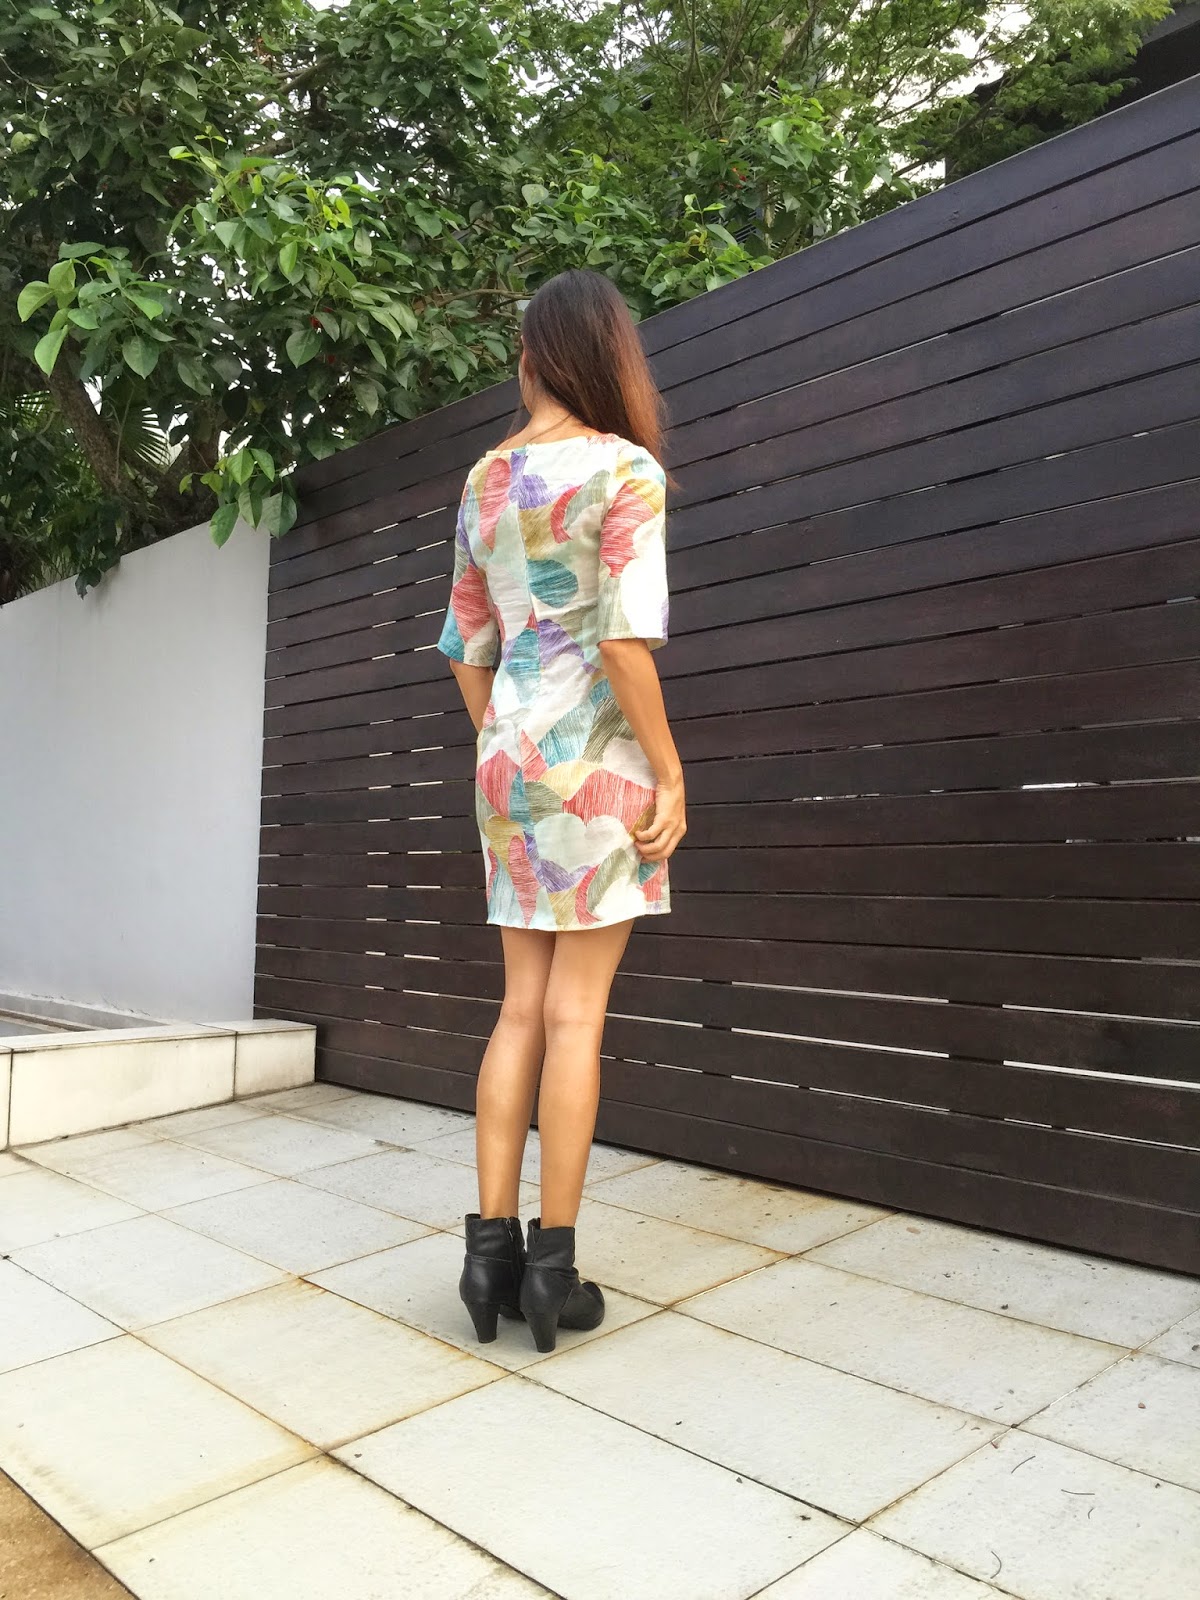
I am glad I did though, because what turned out was a dress that not only fit perfectly, but it also showcased the awesomeness of the print. I'm wearing a piece of art: Mountain Views, by Nani Iro.
 |
| I love my boots :) |
The original intent of the dress was to be a Mad Men-esque sheath that is more figure-hugging. Unfortunately, I am far from being a Christina Hendricks so the eventual outcome resembled more of a 1960's A-line shift. I shouldn't complain really, especially with the accidental shorter hemline (I had underestimated my height. Yay!), this shape suits me a lot better. The double gauze is super soft as well, it was like wearing pyjamas to the office. Twice the yay!!
For anyone who is interested to know what pattern I've used, the main body is a one-piece darted shift from New Look 6092, combined with the elbow length sleeves from Sewaholic Alma View B.
"So what is this sewing / pattern-fitting epiphany all about anyway? And what do you mean the dress was originally meant to be a toile?"
Patience, my young friend.
This is actually the 2nd time I've used the NL6092 pattern. The first time I did it was a long time ago, back when I did not believe in making toiles - because ain't nobody got time for that! And so I ended up with a cupboard full of ill-fitting dresses that I couldn't bear to give away because they were my babies, dang it.
Exhibit A:
 |
| Ask for permission before you attempt this on someone else |
Naively thinking that patterns would fit right out of the envelope, the dress was made with no adjustments whatsoever. This resulted in a saggy bodice, undefined waist and a skirt that nearly busted at the seams. Lovely.
My first instinct would have been to increase the seam allowance at the shoulder seams, and to sew up the excess width beneath the arm-holes. That still works with some of my sleeveless sundresses, but would be impractical with this one. So I began pinching out the excess fabric from different areas to test for fit and learnt two important life lessons that day:
1. The bust darts are supposed to match the bust.
2. I need to remove the excess length, not the excess width because I am known as a "petite" in sewing terms.
(No, not "petite" as in a cute delicate butterfly. It's just a nice term for saying that I'm short).
So the experimentation began. I could pinch out about 2" in length in excess fabric so that was simply removed from the paper pattern. There wasn't really a scientific way of determining where the fold line was to be, as long as I did not disrupt the dart nor change the shape of the armhole. The side seam was then straightened out to account for the fold.
 |
| Origami |
The resultant bodice fit a lot better and I was confident enough to wear it to my workplace. Unfortunately I had not realised how short the hemline was! I generally keep my skirts at knee-length or at a max of 1" above the knees, especially for office wear. This was close to 3" above the knee, and even shorter at the back!
I am itching to make another one now, but will likely have it longer or with a flared skirt.


