I will not be letting my DH take pics of me anymore. He's really awful and makes me look awful. Maybe it's deliberate. Instead, I've decided to let DS takeover! Maybe his height makes for better angles. Or maybe you can tell the real enthusiasm and love coming from behind the lens. Or maybe, DH just really isn't very good.
Wadevas.
I haven't been updating for awhile, but it's not because I haven't been sewing. I have, and have been rather productive with an average of 2 pieces a month. It's just been really difficult to take nice pics, or I'm just too uninspired to post it up. I'll get round to it, promise.

Photobombed by a ridiculously happy Beeboo
It's the Sisboom Angie! Like finally. Tbh, I haven't been exceptionally drawn to this pattern even though it's one of the first pdf patterns I've purchased. I've seen gorgeous pics of them, but just didn't think it would look good on me. I've always been drawn to traditionally very feminine shapes, e.g. the Jenny and Carolina Mae, and thought the Angie would end up looking quite sack-like on me.

I suppose the only way it would look nicer on me would be to wear it with a wide belt. Or add a sash (which is included in the pattern). I've opted for the latter, but then went a little crazy with the additional modifications. Since I didn't like adding belt loops, and had to keep the sash at the waist, I modified the pattern to make it wrap from the back!

Confession-time: I didn't come up with the hacked pattern from scratch, though I did take the cue from adorable Jeanine over at the Scientific Seamstress blog! Link here to see her original post.
My pattern pieces were cut as instructed in her tutorial, but instead of basting the overlapping back pieces together, I've extended each one with an additional 44" (or WOF) x 4" of satin for the sash (double the width since the bodice is lined so it can be turned inside out and top-stitched ... argh I'm confusing myself with the typing). Also added a 4" slit in the left side seam so that the sash can emerge. Wow, I really suck at descriptions.

By the way, notice the fabric?? It's from an older collection, but so intricately designed. I had quite a bit of fun cutting the fabric to make sure that the patterns were centred, since I don't usually use such large prints. By the time I was done, there was just a tiny scrap of fabric left to make a pencil skirt for little cuddly.
I've finally found a reasonably-priced freight forwarder so I don't need to pay an average of S$20/yd (+shipping) of her fabric anymore. Woohoo! Have you seen her latest collection? Pretty!!
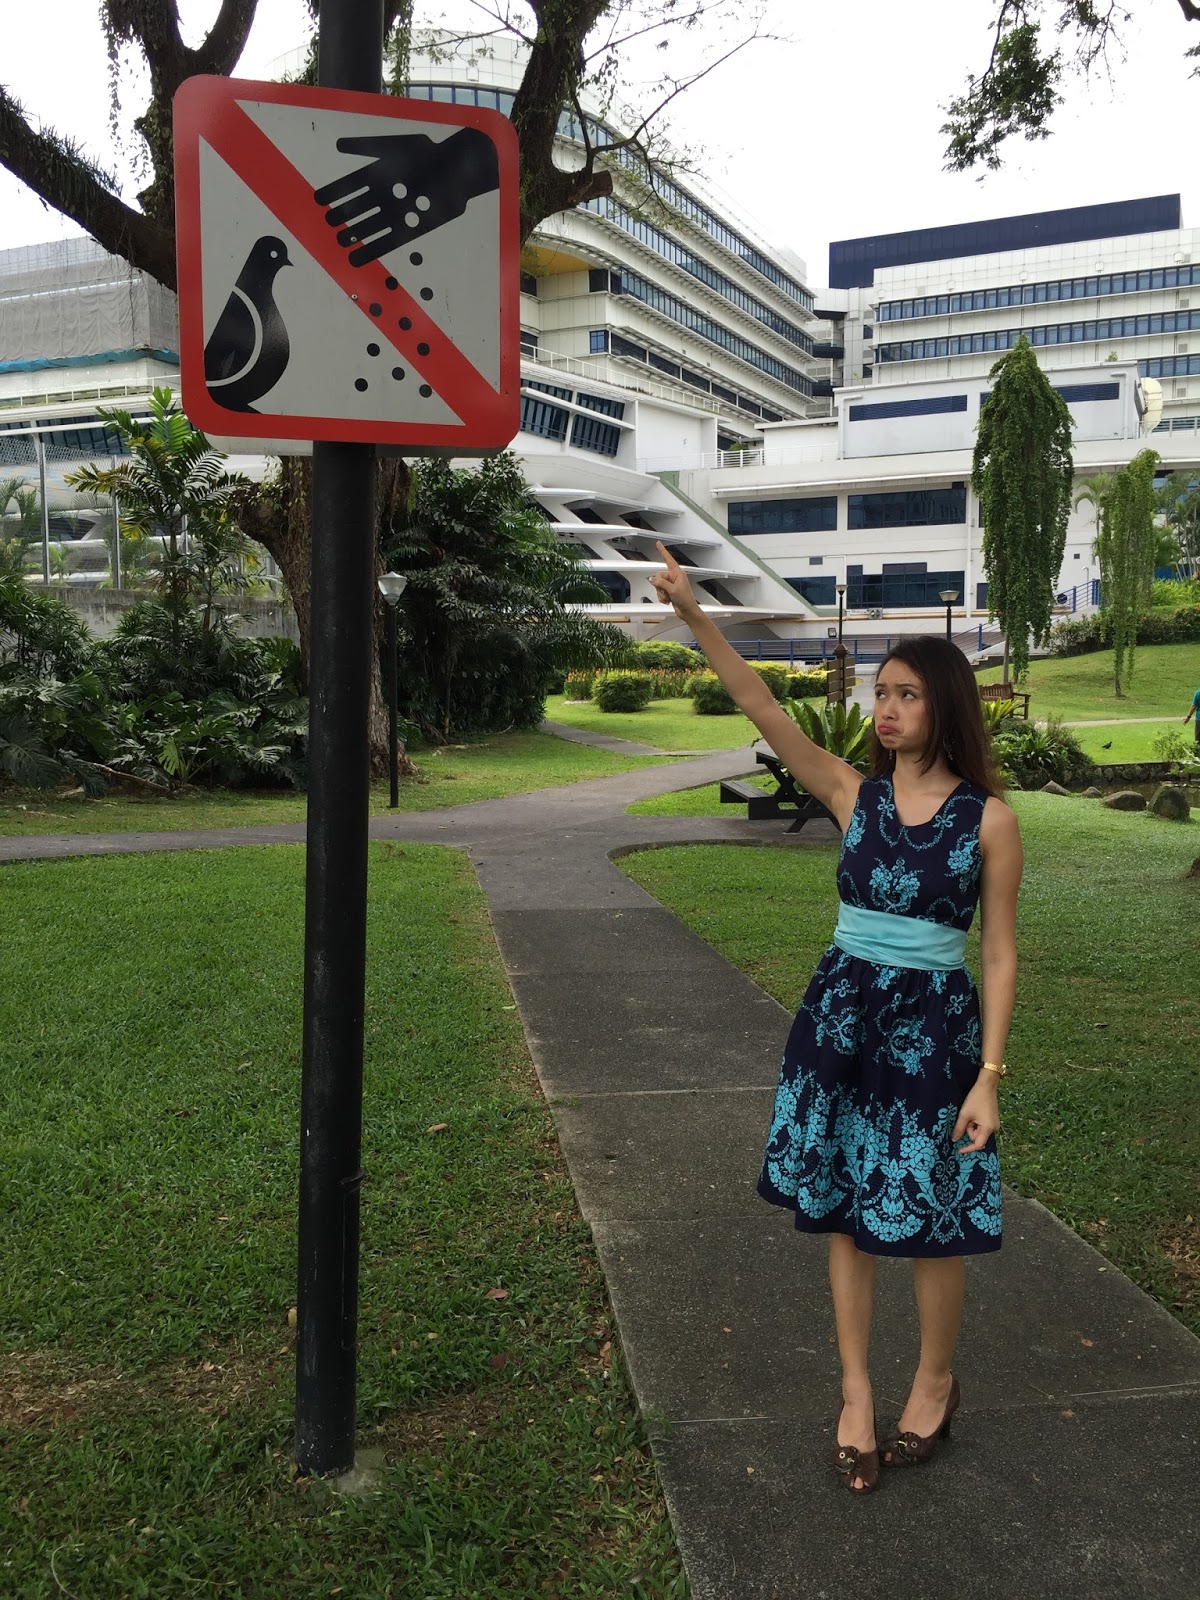
It's a park. Why am I not allowed to feed the birds? :(
Very cute dress...and exceptional cute photo bomber! :)
ReplyDeleteThank you!! :)
Delete